
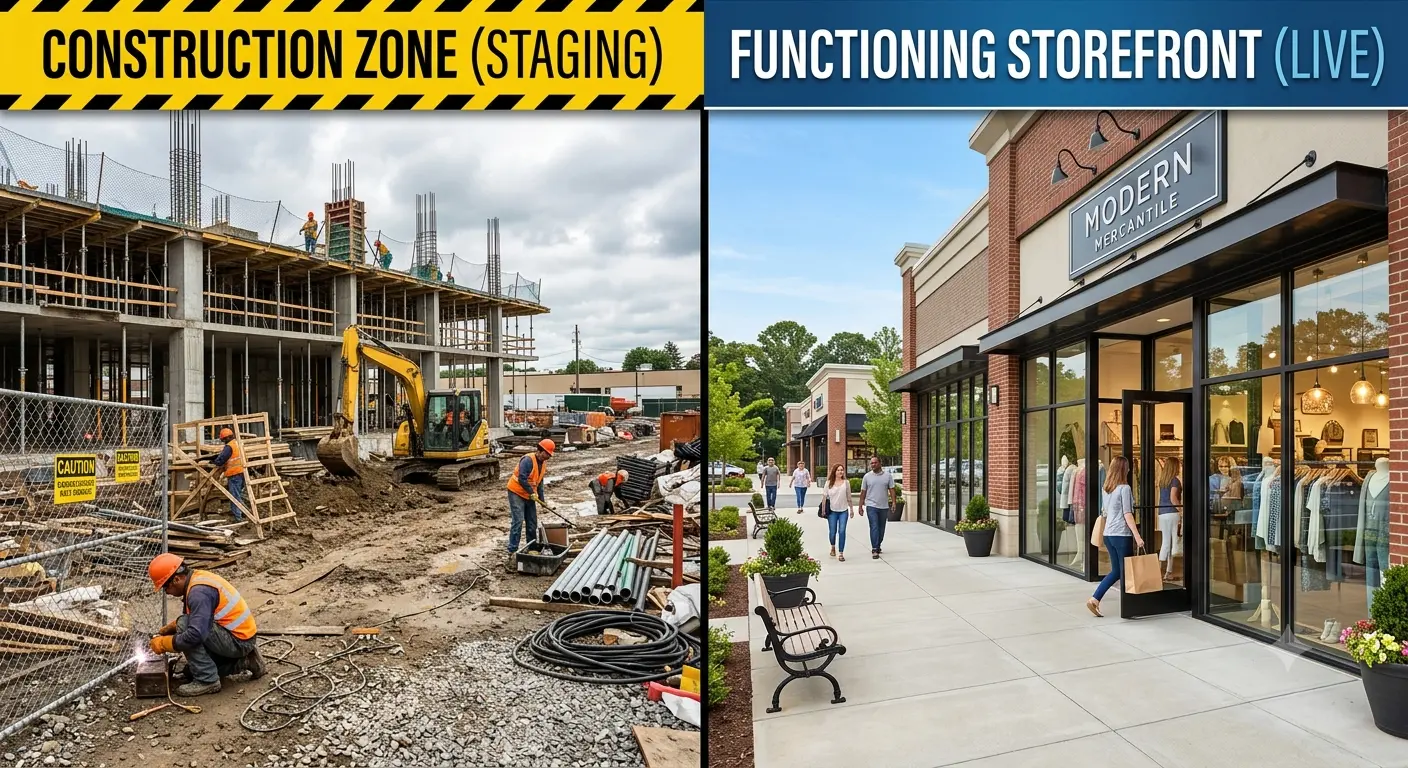
The Nightmare of the Broken Checkout
You click the update button on your main WordPress dashboard. You assume a minor plugin update will finish in seconds. Ten minutes later, your customers start sending angry messages on WhatsApp. Your checkout page is completely broken. Payments are failing instantly.
This scenario is the ultimate nightmare for any online store owner. Testing new features or plugin updates directly on a live site is incredibly dangerous. A single bad line of code can stop your sales entirely.
You must never experiment on a live production server. The financial risk is simply too high. You need a safe, isolated space to break things without consequences. This is where a proper staging environment becomes absolutely necessary.
What Exactly Is a Staging Environment?
A staging site is a complete, exact duplicate of your live digital store. It contains a full copy of your current database, active theme, and all plugins. It sits on your server but remains completely invisible to your actual customers.
You can treat this duplicate site as your personal testing laboratory. You can update complex plugins safely. You can test new WooCommerce features without risking live orders. You can even change your entire visual layout.
If the staging site breaks, nobody cares. Your live store continues processing orders normally. Your customers never experience any downtime or error screens. Once you confirm the changes work perfectly, you can apply them to the live site.
The Hidden Security Risks of Staging Sites
While staging environments are essential for testing, they carry massive security risks. Many developers build a staging clone and simply forget about it. They leave it sitting on the server for months without installing security patches.
We learned this lesson the hard way. Early in 2026, our own store suffered a severe site hijack. The attackers found a forgotten, vulnerable staging environment sitting on our server. They used that outdated clone as a silent entry point to breach our main database.
You must treat a staging site as a temporary, highly dangerous tool. If you leave it exposed, hackers will find it. You must secure it strictly during testing and delete it immediately afterward.
Preparing Your Live Store Before Cloning
Before you create a duplicate, you must clean your primary digital workspace. Cloning a broken or bloated site simply creates a bloated staging environment. Start by clearing your server caches completely.
Follow the strict cache clearing sequence. Clear your NGINX server cache from your hosting panel first. After that is empty, clear your WP Rocket application cache. Next, delete any unused themes or deactivated plugins from your live dashboard.
You should also clear out old spam comments and expired cart sessions. A lightweight database clones much faster than a heavy one. Finally, take a complete backup of your live site before initiating the staging process.
How to Build Your Staging Clone Properly
Creating the actual duplicate is usually a straightforward technical process. Most high-quality hosting providers offer a built-in staging tool directly inside the cPanel interface. This tool copies your files and database into a new subfolder automatically.
If your host does not provide this feature, you can use dedicated staging plugins. These plugins handle the complex URL replacement process in the background. They ensure all your image links and internal pages point to the temporary staging address.
Never try to copy the files and database manually unless you are an advanced server administrator. Manual database duplication often results in broken serialized data and missing configuration settings.
Securing the Clone Against Automated Bots
The moment your staging site goes live, it becomes a target for automated hacking bots. You must lock the front door immediately. The best defense is applying server-level password protection to the staging directory.
You can activate directory privacy directly from your cPanel dashboard. This forces anyone visiting the staging URL to enter a master username and password. This happens before the WordPress code even loads.
This simple barrier stops automated malware scripts completely. It also prevents curious customers from accidentally finding your unfinished test site. Never skip this directory protection step. A public staging site is a massive operational liability for your business.
Blocking Search Engine Indexing
Search engines like Google crawl the internet constantly looking for new pages. If they find your staging site, they will index your duplicate content. This creates a massive search engine optimization disaster for your live domain.
Google will see two identical versions of your store. It might penalize your actual store for duplicate content violations. To prevent this, you must block search engine crawlers immediately.
Go to your reading settings and discourage search engines. Modifying the staging robots.txt file to block all crawling agents is also mandatory.
Running the Update and Testing Process
Now you can safely break your duplicate store. Run all your pending plugin updates simultaneously. Update your core WordPress installation.
After the updates finish, you must test the checkout process thoroughly. Add a product to the cart and proceed to the payment page. Ensure the shipping calculations and discount coupons work correctly.
Test your site layout on a mobile phone screen. Sometimes an update breaks the mobile navigation menu completely. Check your error logs for hidden conflicts. It is better to find a critical error here than on live.
The Danger of Pushing Databases to Live
Once you finish testing, you might be tempted to push the staging site to live automatically. Most tools offer a simple button to overwrite your live site. This is an incredibly dangerous action for eCommerce stores.
While you were testing, your live store was still accepting real orders. Customers created new accounts and paid for products. If you push the staging database to live, you will overwrite the live database entirely.
All the real orders processed during your testing window will be permanently deleted. You must almost never overwrite the live database.
Applying Changes Manually for Safety
Instead of an automatic database overwrite, you should apply your verified changes manually. Keep your staging site open in one tab. Open your live dashboard in a separate window.
If you tested three plugin updates successfully on staging, update those exact plugins on live. If you changed a specific theme color, copy that color code to your live settings.
This manual method feels slower, but it guarantees absolute data safety. You keep all your new customer orders perfectly intact. You only apply the specific code changes you proved were safe.
Deleting the Staging Site Immediately
Your testing is complete. Your live site is updated and functioning perfectly. You must now destroy the staging environment completely. Do not leave it sitting on your server for future use.
An abandoned staging site quickly becomes outdated software. Outdated software turns into a silent backdoor for hackers. Go back to your hosting control panel and delete the staging installation entirely.
Remove the database and delete the subfolder. When you need to test features next month, simply generate a fresh clone. Building a new site takes minutes. Recovering from a hijack takes weeks.
Maintaining Professional Store Operations
Testing software safely separates professional businesses from amateur operations. By using isolated staging environments, you guarantee your customers always enjoy a smooth checkout experience.
Always protect your staging directory, block search engines, and delete the clone when finished. If you need utilities to manage your business safely, check our store. Browse our catalog to buy genuine software keys and keep your operating systems fully legitimate.