
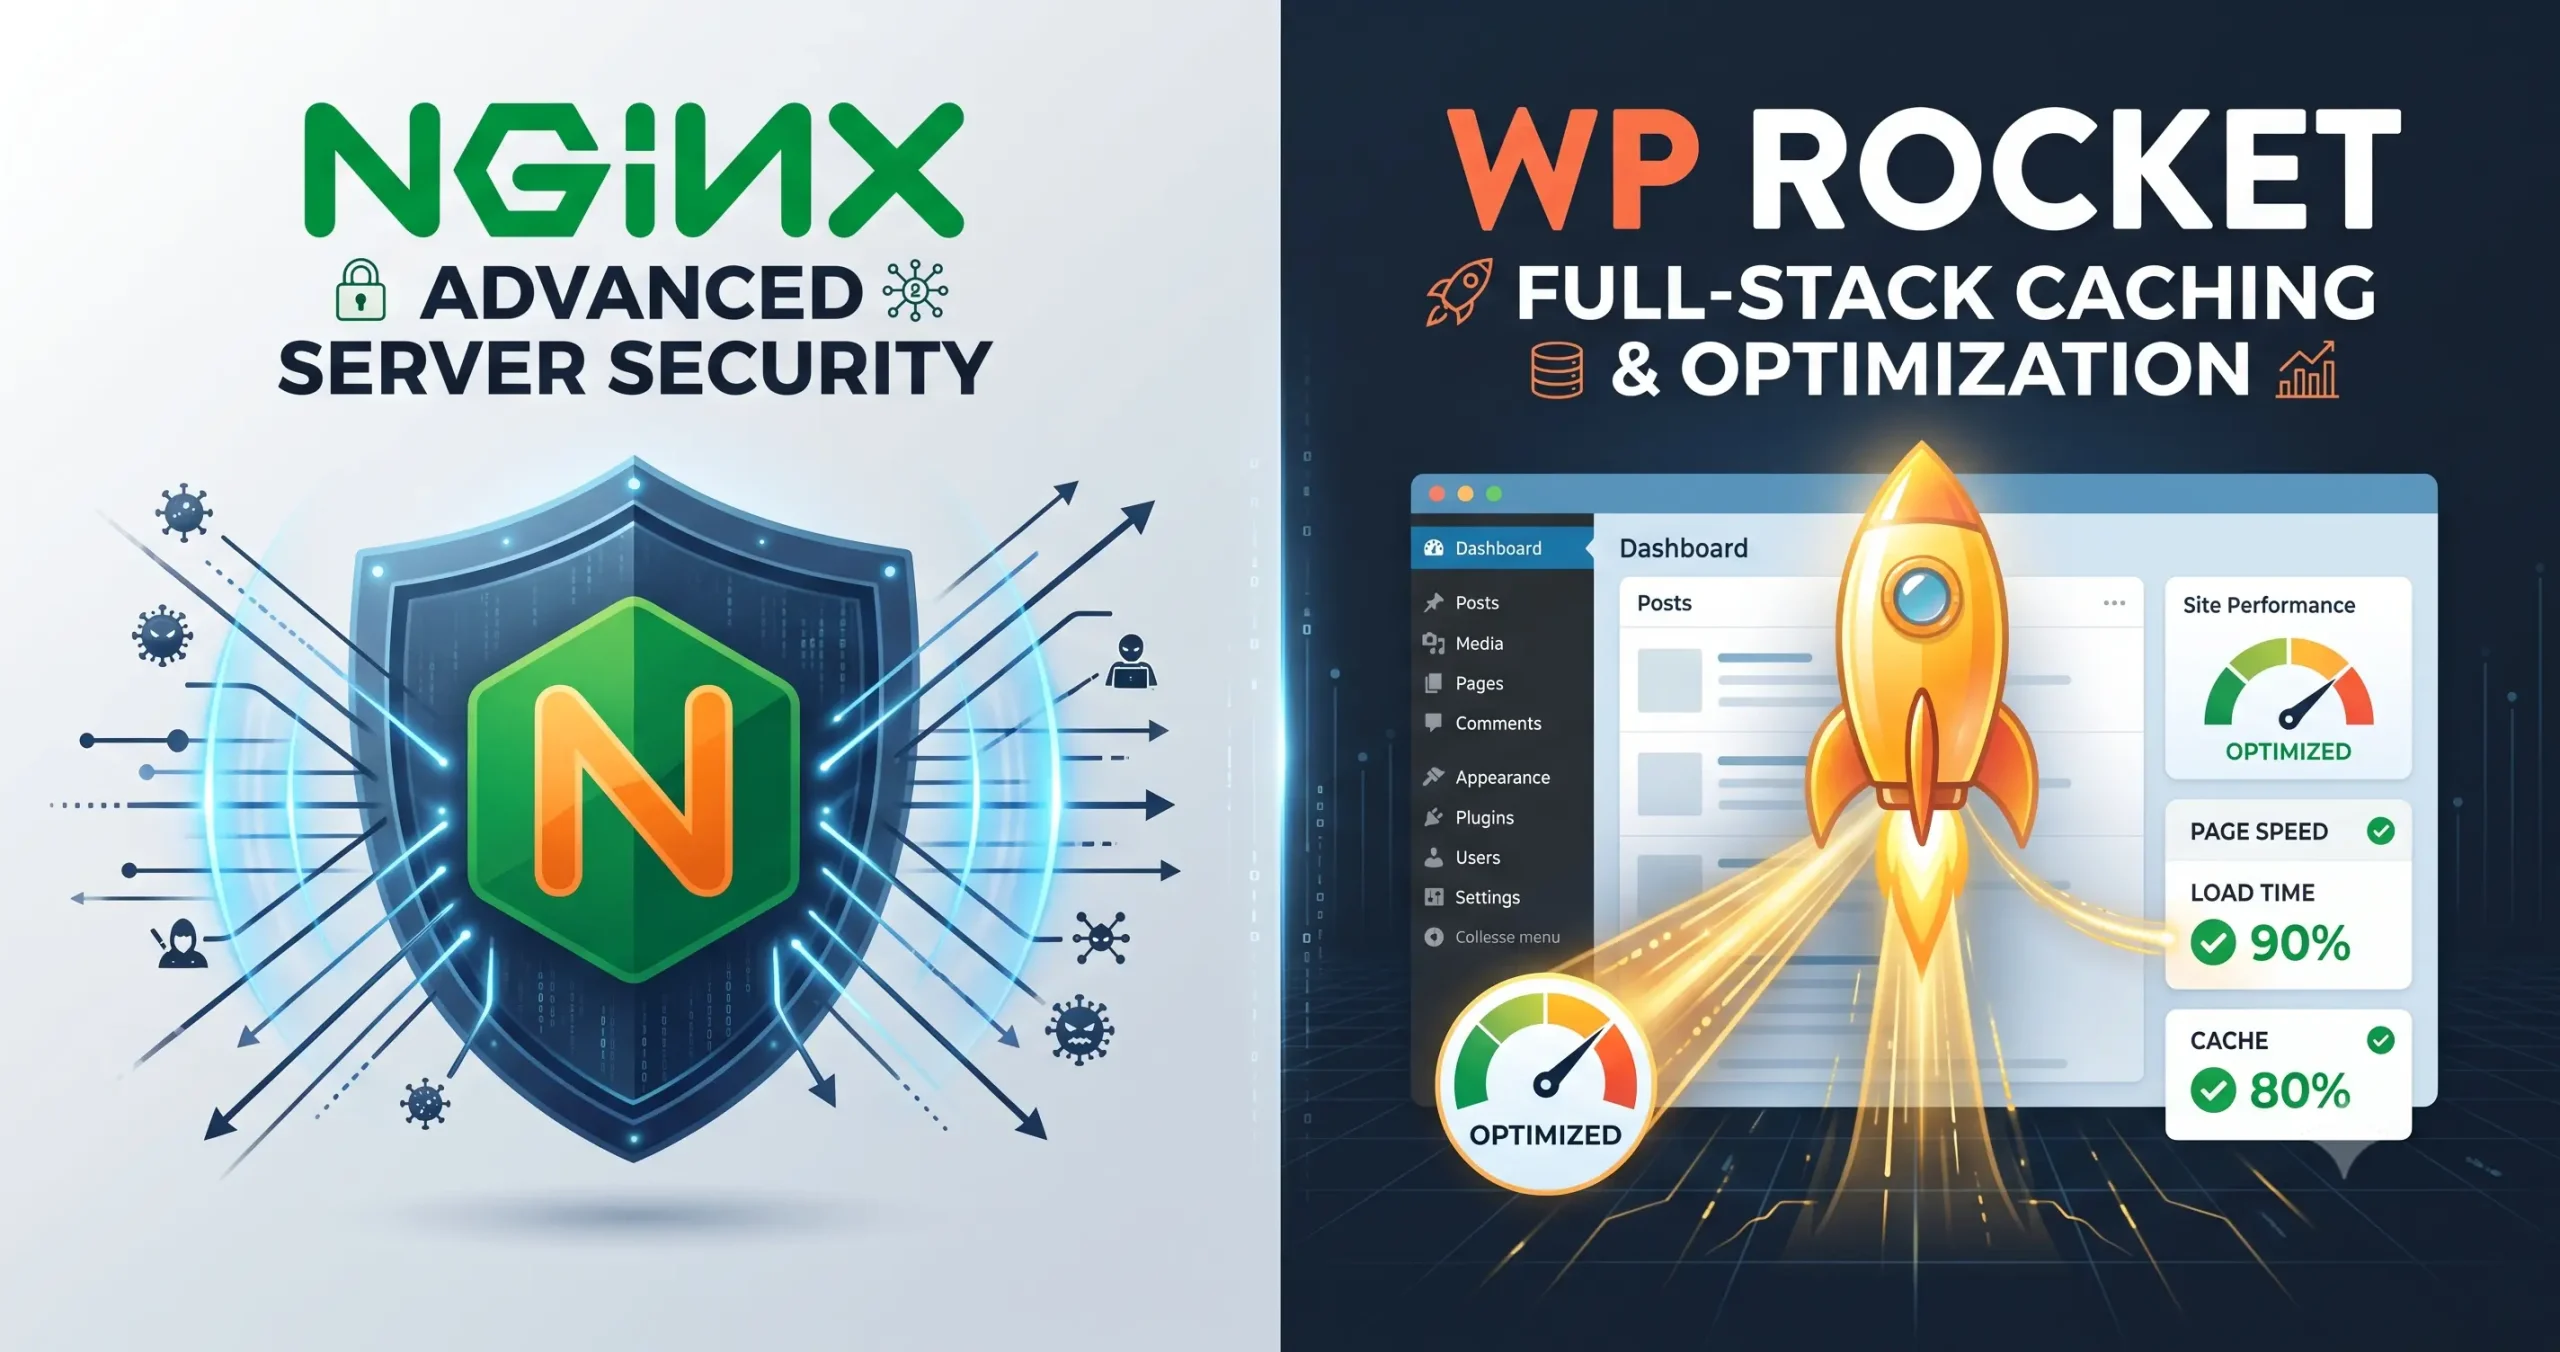
A fast e-commerce site prevents abandoned carts and lost revenue. The most effective WooCommerce caching stack combines server-level NGINX with WP Rocket. You must always clear NGINX first, then WP Rocket, to avoid breaking your store.
Why Caching Order Matters for E-commerce
Running a digital store requires dynamic pages for checkouts and accounts. If you cache these pages incorrectly, customers see other people’s carts. You need a strict caching hierarchy to maintain speed without breaking functionality.
Server-level caching handles the heavy lifting before traffic hits WordPress. Application-level caching handles specific WordPress optimizations.
Step 1: Server-Level Caching with NGINX
NGINX operates at the server level. It serves static assets instantly without waking up PHP workers or your database. If you use cPanel, NGINX caching is often built-in. Check with your hosting provider to ensure it is active.
This layer acts as your first line of defense. It handles sudden traffic spikes perfectly without stressing the server.
Step 2: Application Caching with WP Rocket
WP Rocket sits directly on top of WordPress. It minifies CSS, defers JavaScript, and preloads your pages. Unlike free options, it automatically excludes critical WooCommerce pages like cart and checkout.
However, you must configure it carefully. Never combine CSS or JavaScript files in WP Rocket.
Why Combining CSS and JS is Dangerous
Themes rely on specific script loading orders. E-commerce themes are highly sensitive to file combination. If you combine JS, payment gateway popups might fail. If you combine CSS, icons might disappear for logged-out users. We leave file combination permanently disabled across all our stores.
The Golden Rule: Clearing Your Cache Correctly
When you update a product or change a design, you must clear the cache. Order is completely non-negotiable in this stack.
- Clear the NGINX server cache first via cPanel.
- Clear the WP Rocket cache second from the WordPress dashboard.
If you reverse this order, you trap stale server data under fresh WordPress files. Your site will break visually or functionally. Never skip the NGINX clearance step.
Configuring WP Rocket for WooCommerce
Let us look at the exact settings you need in WP Rocket. Go to the File Optimization tab. Minify CSS files, but do not combine them. Minify JavaScript files, but do not combine them. Load JavaScript deferred to stop render-blocking. Delay JavaScript execution only for non-essential third-party scripts.
These simple toggles prevent checkout layout shifts.
Bypassing the Cache for Dynamic Pages
WooCommerce needs specific pages to remain uncached at all times. WP Rocket handles this automatically by default. Verify that your cart, checkout, and my-account URLs are bypassed.
If you run a high-traffic store, caching these pages causes severe data leaks. Customers might see mixed session data. Always double-check the advanced rules tab to ensure exclusions remain intact.
Handling Database Optimization
Caching is not just about static files. WooCommerce generates massive database bloat over time. Transients, expired sessions, and old cart data will slow down your server.
WP Rocket includes a database cleanup tool. You should schedule this to run weekly. Clear out post revisions and spam comments. Remove expired WooCommerce transients to keep your database tables lean.
A lean database processes checkout queries much faster.
The Role of Your Web Host
Your caching stack is only as strong as your hosting provider. Shared hosting often lacks server-level NGINX access. A virtual private server gives you full control over caching layers.
We prefer isolated cPanel environments to prevent cross-site resource draining.
Good infrastructure makes application caching far more effective.
Testing Your Caching Stack
You must verify that your caching works properly after setup. Open an incognito browser window. Visit your homepage and check the loading speed. Add a product to the cart. Navigate to the checkout page.
The cart and checkout must load without any cached elements. Test your payment gateway to ensure scripts fire correctly. Log into a customer account and verify dashboard pages bypass the cache entirely.
Troubleshooting Common Cache Conflicts
Sometimes things go wrong even with a perfect setup. Here is how to fix common WooCommerce caching issues.
- Blank Pages: If the screen goes white, a hidden PHP error is likely. Clear NGINX, then clear WP Rocket.
- Missing Icons: If menu icons vanish, caching plugins might block fonts. Ensure CSS safelists are configured correctly within WP Rocket settings.
- Cart Not Updating: If the cart counter stays at zero, AJAX fragments are broken. WP Rocket handles fragments, but check for theme conflicts.
Real-World Performance Impact
We manage high-volume stores processing thousands of digital product deliveries. This specific NGINX and WP Rocket configuration keeps server loads low. It ensures pages load in under two seconds during major sales events.
You do not need six different optimization plugins. You only need one server-side layer and one WordPress-side layer. Keep your infrastructure simple and predictable.
Takeaway: Always layer NGINX below WP Rocket. Always clear NGINX first. Keep CSS and JS combination off to protect your checkout. Avoid overcomplicating your plugin stack.
2 thoughts on “The Ultimate WooCommerce Caching Stack: Configuring NGINX and WP Rocket”